
I remember the frustration of a gel manicure that peeled off in sheets after just three days. I had spent an hour applying it carefully, following all the steps I had seen in tutorials. The problem wasn’t the products—it was the mistakes I didn’t know I was making.
Here is everything I have learned about why gel polish fails, the most common mistakes that lead to peeling and chipping, how to make your gel manicure last, and how to remove it safely without damaging your natural nails.
Why Does Gel Polish Fail?
Gel polish is designed to last 2-3 weeks, but several factors can cause it to peel, chip, or lift prematurely. The most common reasons include poor preparation, incorrect application, under-curing, and damage to the free edge. Sometimes it is a combination of all four.
Common Mistakes That Ruin a Gel Manicure
Skipping or rushing nail preparation. This is the number one reason gel manicures fail. Your natural nail plate has oils, moisture, and invisible cuticle residue that prevent the gel from bonding properly. If you skip the prep, your gel will lift within days.
Applying gel too thickly. Beginners often think more product equals stronger nails. In reality, thick gel traps air, cures unevenly, and peels faster. It also creates more heat during curing.
Getting gel on skin and cuticles. Gel that touches the skin creates a physical barrier that prevents proper adhesion. It also increases the risk of allergic reactions over time.
Forgetting to cap the free edge. The free edge is the most vulnerable part of your nail. If you do not seal it, water seeps underneath and causes lifting.

Under-curing or over-curing. Under-cured gel is soft, sticky, and peels within days. Over-cured gel can become brittle and may cause heat spikes during application.
Using the wrong lamp. Not all lamps work with all gels. Using an incompatible lamp leads to under-cured gel and peeling.
Peeling off lifting gel. When a corner lifts, the temptation is to peel it off. Resist. Peeling strips layers of your natural nail along with the gel.
How to Make Your Gel Manicure Last
A long-lasting gel manicure starts with proper preparation. Remove old polish, push back cuticles, and lightly buff the nail surface to remove shine—just two or three gentle passes. Wipe every nail with a dehydrator or rubbing alcohol. After this, do not touch your nails. Finger oils transfer instantly and ruin adhesion.
When applying, use thin layers. Gel should look like a thin coat of paint, not a blob. Cap the free edge with every layer—base coat, colour, and top coat. Maintain a small gap—about 1mm—between the gel and your cuticle and sidewalls. If gel touches skin, clean it up before curing. Cure for the manufacturer’s recommended time and ensure your lamp is compatible with your gel.
For aftercare, apply cuticle oil daily to keep your nails flexible and prevent lifting. Wear gloves for wet work to protect your manicure from water and harsh chemicals. Avoid using your nails as tools—no opening cans or peeling stickers. If you see a small chip or lifted edge, gently file the edge smooth and apply a thin layer of top coat to seal it.
How to Remove Gel Polish Without Damaging Your Nails
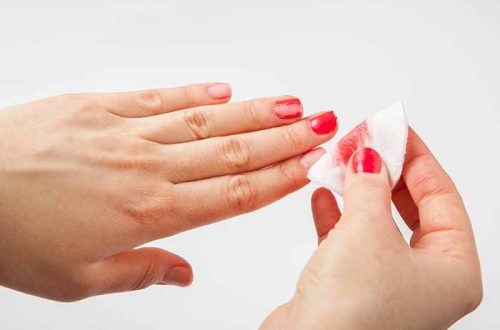
Proper removal is just as important as proper application. The acetone soak method is the safest way to remove gel polish.
Step 1: File the top coat. Using a professional nail file, gently buff the shiny top coat off each nail. This breaks the seal and allows the acetone to penetrate.
Step 2: Soak and wrap. Saturate a cotton ball with 100% pure acetone. Place it on your nail and wrap the fingertip tightly with aluminium foil. The foil holds the cotton in place and traps heat, speeding up the process.
Step 3: Wait. Leave the wraps on for 10-15 minutes. Do not peek—unwrapping early releases acetone vapour and slows the process.
Step 4: Gently push. Unwrap one finger. The gel should look soft and cracked. Using a wooden cuticle pusher, gently push the softened gel from the cuticle toward the free edge. If the gel resists, rewrap and wait another 5 minutes. Never scrape or force it—this damages your natural nails.
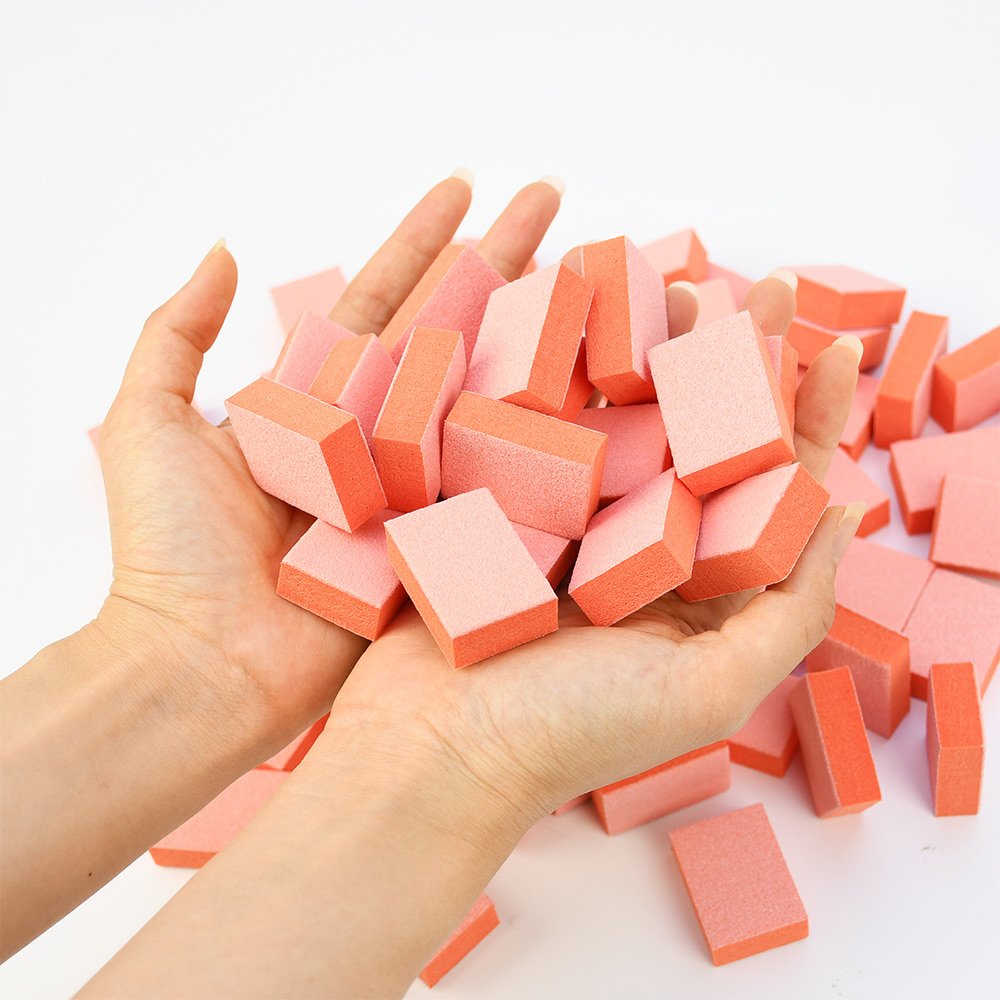
Step 5: Buff and hydrate. Once all gel is removed, gently buff any residue with a buffer block. Wash your hands and apply cuticle oil generously.
After removal: Apply cuticle oil to each nail. Keep your nails short for the next few days. Use a strengthening base coat to support recovery. Give your nails a break before applying a new set—at least 24-48 hours of bare, oiled nails allows the nail plate to rehydrate fully.
The Bottom Line
Gel polish is not difficult to make last, but it is unforgiving. Every step matters—preparation, application, curing, and aftercare. The difference between a manicure that lasts three days and one that lasts three weeks is not luck. It is technique. With proper preparation, thin layers, full curing, and gentle removal, you can enjoy beautiful, long-lasting gel nails without damaging your natural nails.
Read also: UV Gel Nail Stickers: The Ultimate Guide to a Salon‑Quality Gel Manicure at Home


One comment on “Why Your Gel Manicure Doesn’t Last and How to Fix It”