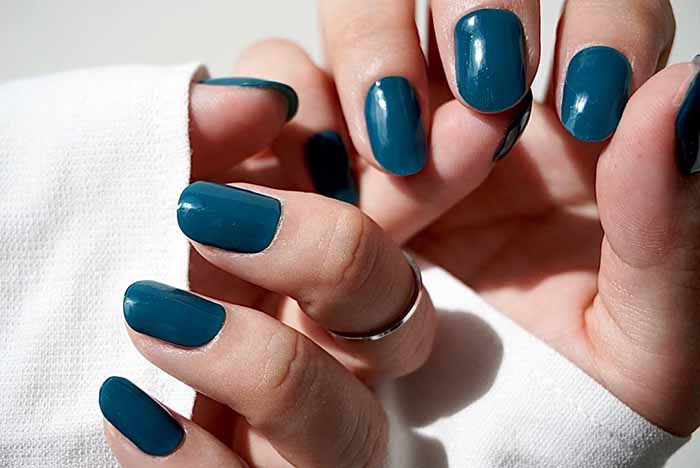
Imagine the glossy, chip‑resistant finish of a professional gel manicure, achieved in minutes without any messy painting or drying time. That’s the promise of UV gel nail stickers. These innovative products have taken the beauty world by storm, offering a convenient, affordable, and beginner‑friendly route to stunning nails. This guide covers everything you need to know, from what they are to how to apply, remove, and extend them for the perfect manicure.
What Are UV Gel Nail Stickers?
UV gel nail stickers, also known as semi‑cured gel wraps or gel nail strips, are thin, flexible layers made from real gel polish that has been partially cured in the factory. This partial curing keeps them malleable so they can be stretched and shaped to fit your natural nail. Once you apply the sticker, you cure it under a UV/LED lamp for a final 30‑60 seconds. This triggers the remaining polymerization, transforming the soft sticker into a hard, durable gel coating that firmly bonds to your nail plate.
Key Advantages Over Traditional Products
Why are UV gel wraps becoming so popular? They offer a unique blend of benefits that outshine both traditional gel polish and press‑on nails:
- Salon‑quality durability: When properly applied, a set easily lasts 10–14 days, with some premium strips staying flawless for up to three weeks.
- Time efficiency: Eliminating multiple layers of polish and drying time, you can achieve a full, perfectly painted set in under 20 minutes. As one review notes, they offer “exceptional time efficiency, reducing traditional manicure sessions from hours to mere minutes”.
- Ultimate convenience: There’s virtually no mess to clean up, no skill needed for intricate designs, and zero drying time (beyond the few seconds of curing).
- Gentle on natural nails: Because the base is a thin, flexible sticker rather than a bulky acrylic, they are remarkably gentle on natural nails.
- Endless professional designs: Gel wraps come in pre‑designed patterns, ombre effects, glitter, and intricate nail art that would be difficult and expensive to recreate by hand.

How to Achieve a Perfect UV Gel Manicure: Step‑by‑Step
Follow this straightforward process for a flawless finish that lasts.
1. Nail Preparation: The Critical First Step
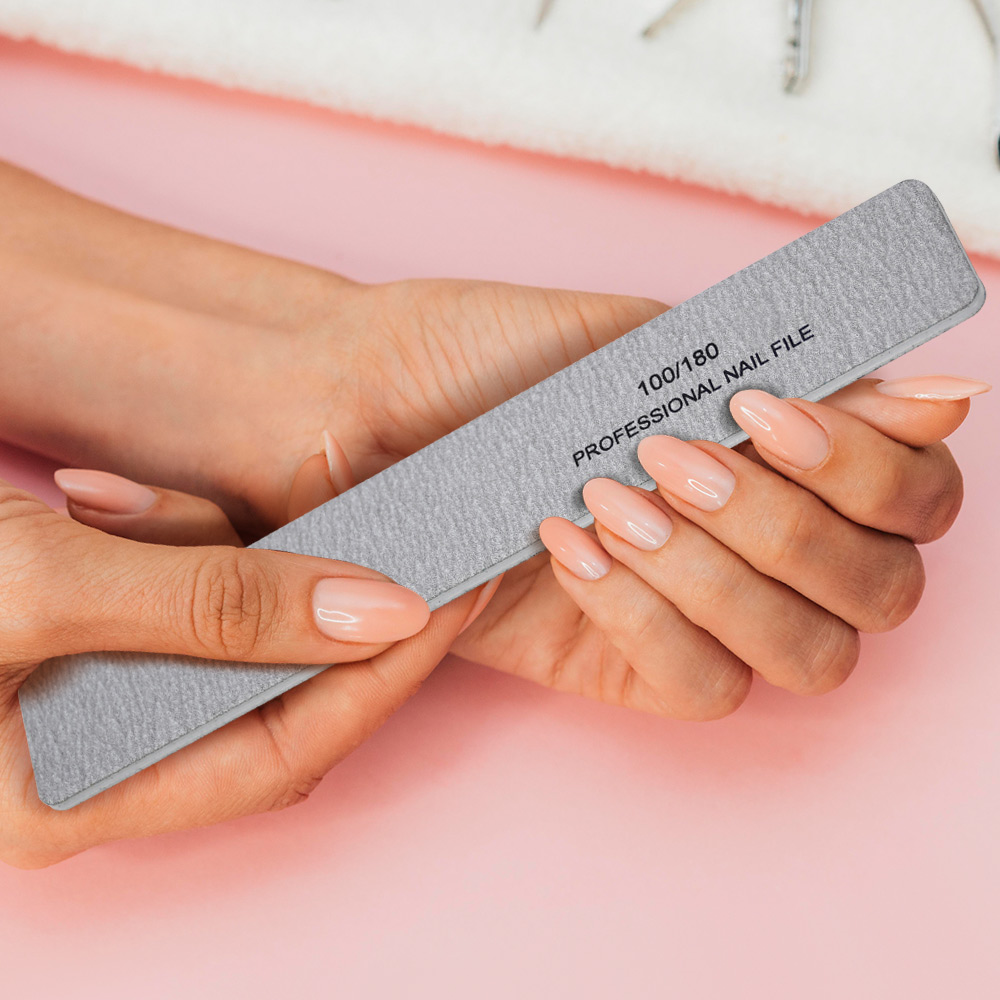
Proper preparation is non‑negotiable. Do not skip it. For an oil‑free, textured surface that the sticker can grip, start by washing your hands with soap and water. Gently push back your cuticles with a wooden stick. Lightly buff the surface of each nail to remove its natural shine. Finally, wipe each nail thoroughly with an alcohol prep pad to eliminate all dust and oils. Never apply lotion or cuticle oil before this step, as oils create a slippery barrier that prevents proper adhesion.
2. Application: Stick and Smooth
Select a sticker that is slightly smaller than your nail plate. This is crucial. Peel it from the backing and align it about one millimeter away from your cuticle (do not touch the skin). Press down firmly on the center first, then smooth outwards to eliminate air bubbles. Use the wooden stick to firmly press around the edges for a perfect seal.
3. Trim, File, and Cure
Fold the excess part of the sticker over the free edge of the nail, or trim it off with small scissors. Gently file downwards with a nail file to remove any remaining excess and seal the edge. Then, place your hand under a UV or LED lamp to cure for 60 to 90 seconds, ensuring each finger is fully exposed.
4. The Finishing Touch
For the ultimate in durability and shine, apply a thin layer of gel top coat over the entire nail and cure again for 30 seconds. This adds an extra protective shield, especially over the vulnerable tip. Massage cuticle oil into your nails and skin to finish.
Essential Do’s and Don’ts to Avoid Common Mistakes
✅ Do seal the edges. Run a clean orange stick along the tip and sides after filing. Neglecting to seal the edges is a primary cause of premature lifting and chipping.
✅ Do cure fully. Under‑curing is a frequent error that leads to peeling. If the strip feels soft or leaves a mark when pressed with a wooden stick after curing, it needs more light.
✅ Do maintain your nails. Apply cuticle oil daily after your manicure is complete to keep nails healthy and flexible. Wear gloves when washing dishes or cleaning to protect against water and harsh chemicals.
✅ Do apply a base coat first. Using a gel base coat before the sticker not only protects your natural nail but also enhances adhesion, creating an even more robust foundation.
❌ Don’t use the wrong size. A sticker that’s too big will overlap onto your skin, creating a lifting point, while one that’s too small leaves edges exposed.
❌ Don’t apply to wet nails. Moisture is the enemy of adhesion. Ensure nails are completely dry and oil‑free.
❌ Don’t peel or overstretch. Aggressively stretching the wrap can distort the design and weaken the adhesive bond. Also, never peel off the strips when removing them, as this can damage your natural nail plate.
Gentle Removal: Protecting Your Natural Nails
When you’re ready for a change, safe removal is vital. UV gel stickers are designed to be removed without harsh acetone.
1. Soften the adhesive: Apply a generous amount of cuticle or nourishing oil around the edges of each sticker and under the free edge. You can also soak your nails in warm, soapy water for a few minutes.
2. Lift and peel: Use a wooden stick to gently lift the softened edges of the sticker. It should begin to loosen and slide off. If you meet resistance, simply apply more oil and wait a bit longer.
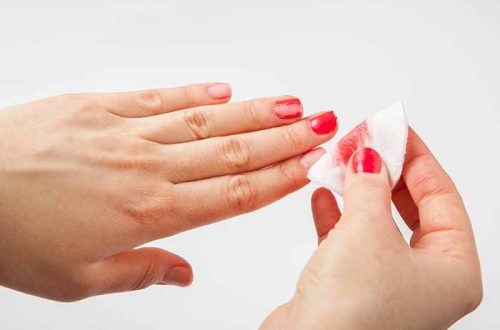
3. Clean and hydrate: Wipe away any sticky residue with a cotton pad and isopropyl alcohol. Wash your hands and massage a generous amount of cuticle oil into your nails and surrounding skin to replenish moisture.
By following this simple guide, you can enjoy the glossy, durable, and utterly professional finish of a UV gel manicure, all from the comfort of your own home.
Read also: How to Easily Remove Semi-Permanent Nail Polish at Home?



One comment on “UV Gel Nail Stickers: The Ultimate Guide to a Salon‑Quality Gel Manicure at Home”